
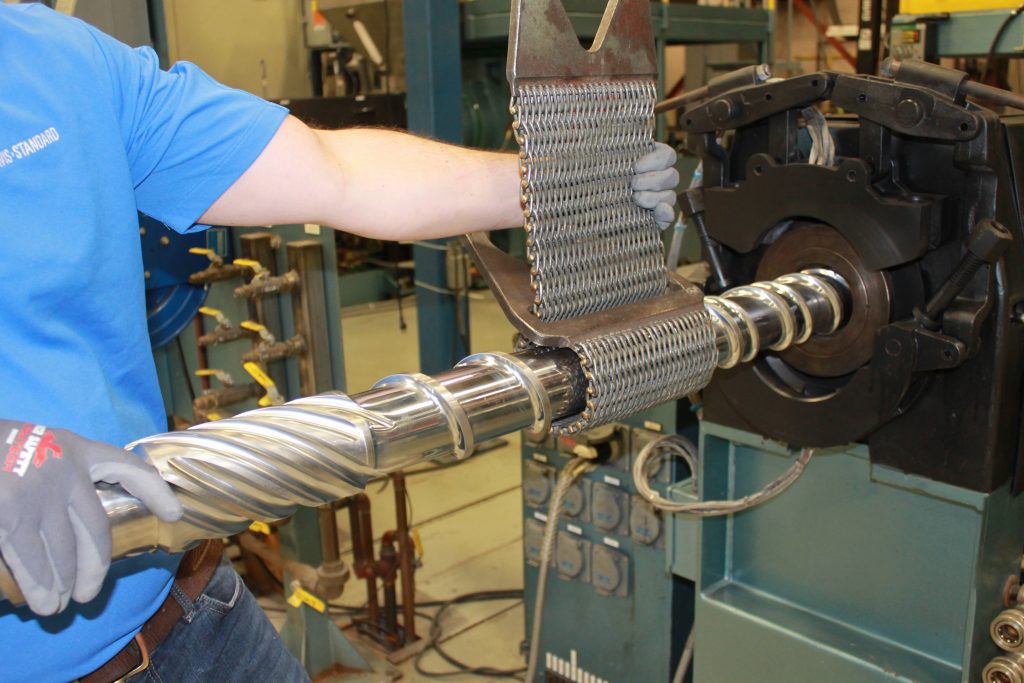
As a follow-up to our previous blog entitled “The 911 for Feedscrew Removal,” there are situations when typical feedscrew removal procedures fail. Thus, extra work is involved. Due to the challenging nature of these situations, do not hesitate to contact us with questions if you have to employ any of the alternative procedures below. We’d be happy to walk you through the steps or provide on-site assistance.
Alternative #1
Oxidation or corrosion can cause the screw to be jammed in the taper. When this happens, we suggest using a steel rod (not a pipe) slightly smaller than the hole through the thrust sleeve. Ensure the rod long enough so that it protrudes 18 inches (45cm) from the thrust sleeve. Once the rod is inserted into the thrust sleeve, cautiously hit the rod with a sledgehammer. If the rod does not move after a few tries, rotate the feedscrew slightly by turning the input sheave by hand. Repeat the hammering. Once the screw is knocked free, repeat the normal procedure for feedscrew removal.
Alternative #2
In some cases, the oxidation is so severe that using the method above will not loosen the feedscrew. In this case, penetrating oil must be applied. To do so, mask off the bottom half of the hole found at the rear of the thrust shaft. Pour penetrating oil over the top of the masking until it is ¼-inch (6mm) deep. Then, mask off the entire hole. With oil in the bore, rotate the shaft by turning the input shaft by hand. If there is a clear passage, the oil will find it and run out the shank of the feedscrew. Allow the oil to set overnight.
Make a block of wood 4 x 4 x 36 inches (10 x 10 x 91cm). Place the block of wood against the side of the feedscrew behind the feed section where the shank is visible. Give the block of wood a few sharp blows with a sledgehammer. Rotate the feedscrew and repeat the hammering until it loosens. Then perform alternate procedure #1.
Alternative #3
If the first two procedures to do not work, there is a third alternative. However, try the above procedures repeatedly before engaging this option. With this procedure, there is a good chance the barrel and feedscrew will be ruined.
Loosen the bolts on the barrel support casing on the front of the machine. Using a pry bar, lift the casing up about ¼ to 3/8-inches (6 to 9.5mm). While it is lifted, rotate the feedscrew by turning the reducer input shaft by hand. This tends to bend the feedscrew, causing strain on the taper. It may help to strike the feedscrew at a side angle while it is bent. If this fails to loosen the screw, it will probably be necessary to disassemble the machine and remove the feedscrew from the feed end of the barrel. If this fails, the entire feedscrew/barrel unit must be put in a large hydraulic press where it may require up to 100 tons to remove the feedscrew.
Hopefully, you will never need to use these alternative procedures. For additional questions about this or any other feedscrew maintenance topic, please e-mail marketing@davis-standard.com.
Cheers,
D-S Connect Blog Team