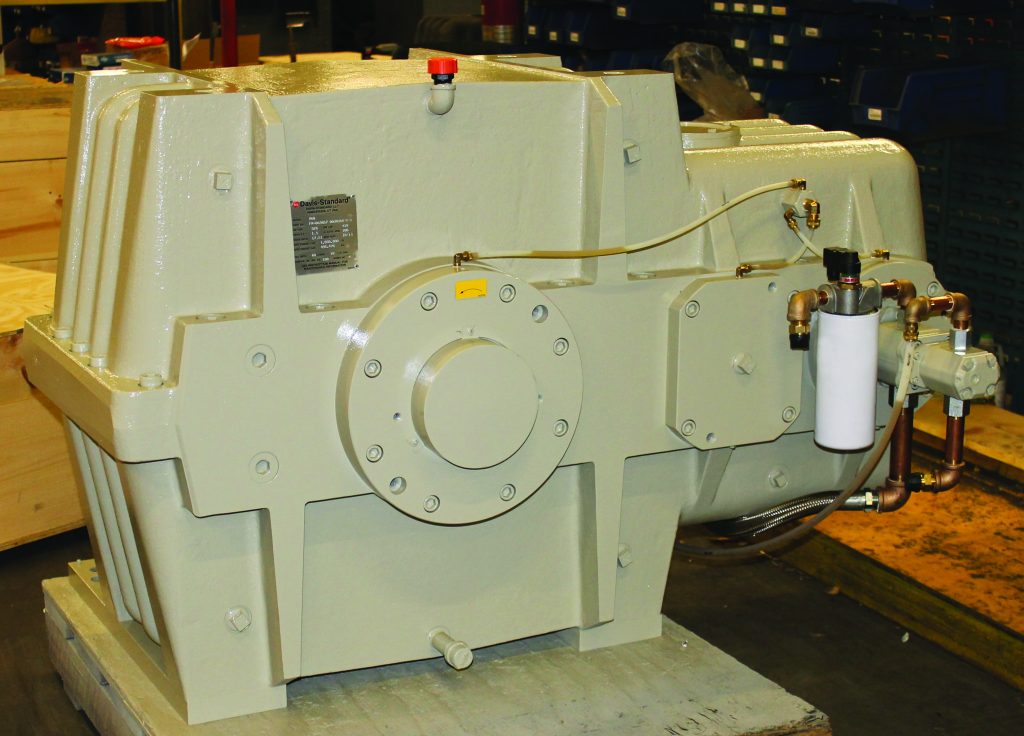
Extrusion line downtime can be expensive. To reduce downtime, it’s important to develop and implement a robust preventive maintenance program for your plastic extruder gear reducer. In this preventative maintenance blog series, we’ll outline three key areas for keeping your gear reducer primed for performance – 1) oil change intervals, 2) flushing the gear reducer, and 3) oil selection.
Always follow the maintenance information in the manual provided with your equipment. This blog summarizes general preventative maintenance for the gear reducer.
Oil Change Intervals – Gear Reducer without Oil Filtration:
After the First 200 Hours of Operation (and then every 2,500 hours of operation)
-
- Drain the oil, preferably when warm.
- Flush and refill system with new oil; refer to the information on the gear reducer nameplate.
- With the extruder screw rotation stopped, check the oil level and adjust as necessary.
- Check the alignment of the motor and gear reducer coupling, or belt drive, for proper alignment. Adjust as necessary.
Oil Change Intervals, Gear Reducer with Oil Filtration:
After the First 200 Hours of Operation (and then every 4,000 hours of operation)
-
- Drain the oil, preferably when warm.
- Flush and refill system with new oil. Refer to the information on the gear reducer nameplate.
- Always replace the oil filter.
- With the extruder screw rotation stopped, check the oil level and adjust as necessary.
- Check the alignment of the motor and gear reducer coupling, or belt drive, for proper alignment. Adjust as necessary.
- If, at any time in between oil changes, the dirty oil filter indicator on the filter head shows red, replace the oil filter.
At Every Oil Change
-
- Inspect the gear tooth condition visually through the inspection cover. A small amount of wear and a central tooth contact pattern are acceptable.
- Check for oil leaks.
- Remove, clean, and reinstall the housing vent plug.
- Clean and wipe down the external surfaces of the gear reducer.
Daily (at shift changes)
-
- Listen for any unusual noise. Determine the source and correct as necessary.
- The maximum continuous operating temperature is 150°F (66°C). Check the temperature using the temperature gauge provided. For reducers not equipped with an oil cooling system, monitor the temperature by hand. Reducers should be warm to the touch, but not hot. Be aware that the temperature may vary with load and speed. For temperature measurements over 150°F (66°C), as measured by an IR pyrometer, camera, or a similar non-contact tool, contact the Davis-Standard service department.
- Look for fluid spills. Clean up when needed and determine the source. Correct as necessary.
Monthly
-
- Check the oil level in the gear reducer. If it is necessary to routinely add oil, determine the cause of the oil loss and correct it.
- Inspect the gear reducer and oil cooling system (if supplied) for oil leaks.
We hope you have found this blog helpful! Please rate this blog below and be sure to look for the next blog in this series on flushing the gear reducer in April.
Have questions about this blog? Comment below or email us.
Cheers,
DS Connect Blog Team
